How To Delete Classmates.com Account
In today’s digital age, managing our online presence is crucial for maintaining a clutter-free and focused digital space. If you’ve decided it’s time to bid farewell to your Classmates.com account, a platform designed to reconnect with former classmates, this guide will take you through the step-by-step process of deleting your account. Let’s explore the details to ensure a seamless experience.
Step 1: Log into Your Classmates.com Account
To kick off the account deletion process, start by logging into your Classmates.com account. Access the Classmates.com website and enter your login credentials. If you’ve forgotten your password, the platform usually provides a password recovery option.
Step 2: Navigate to Account Settings
Once logged in, look for the “Account” or “Profile” section. This is often located by clicking on your profile picture or username in the upper right corner of the webpage. Choose the option that leads you to your account settings.
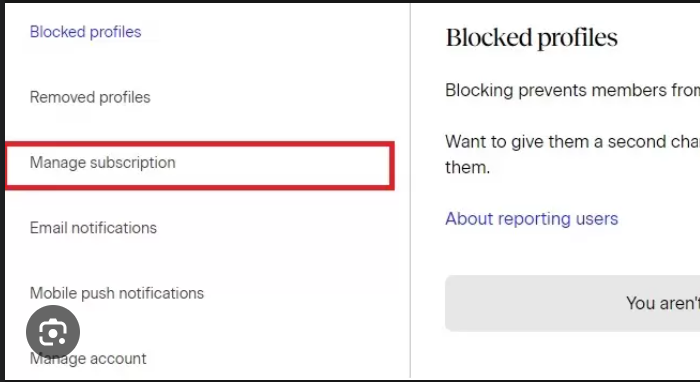
Step 3: Find the Account Deletion Option
Within the account settings, search for an option related to account management. Classmates.com typically labels this option as “Account Settings,” “Manage Account,” or something similar. Once you find it, click on it to proceed to the next step.
Step 4: Initiate Account Deletion
In the account management section, there should be a specific option for deactivating or deleting your account. Classmates.com may use terms like “Delete Account” or “Close Account.” Click on this option to commence the account deletion process.
Step 5: Confirm Your Decision
Before proceeding with the account deletion, Classmates.com might ask you to confirm your decision. This is a precautionary step to prevent accidental account closures. Confirm that you want to delete your account when prompted.
Step 6: Review Account Deactivation Information
Classmates.com may provide additional information about the consequences of deleting your account. Take a moment to review any important details, such as the loss of access to your network and other account-related data. Ensure you are comfortable proceeding with the deletion.
Step 7: Submit Deletion Request
After confirming your decision, Classmates.com may require you to submit a deletion request. Follow the prompts to provide any necessary information and submit the request to finalize the account deletion process.
Step 8: Check for Confirmation
Once you’ve completed the deletion request, keep an eye on your email for any confirmation messages from Classmates.com. This email will likely confirm the successful deletion of your account. Verify this confirmation to ensure that your account has been removed from the platform.
Conclusion:
Taking charge of your online presence by deleting unused accounts is a proactive step in maintaining digital cleanliness. By following this comprehensive guide on deleting your Classmates.com account, you can confidently navigate the process and declutter your digital space. Remember to check your email for confirmation, and if you have the Classmates.com app installed, consider removing it from your devices to complete the account deletion. With these steps, you’ll bid farewell to Classmates.com and enjoy a more streamlined and focused online experience.