Over time, your Windows 10 system may accumulate various unnecessary files, commonly referred to as junk files. These files take up valuable storage space, slow down system performance, and can contribute to a cluttered digital environment. Fortunately, Windows 10 provides built-in tools to help you identify and delete junk files, optimizing your system for better performance. In this guide, we’ll explore step-by-step methods to efficiently delete junk files in Windows 10.
Important Note: Before deleting any files, ensure that you have backed up important data to prevent accidental loss.
Step 1: Use Disk Cleanup Utility: Windows 10 includes a built-in tool called Disk Cleanup that helps you identify and delete unnecessary files, including temporary files, system cache, and other items that accumulate over time.
a. Open File Explorer and right-click on the drive you want to clean (usually the C: drive).
b. Select “Properties” from the context menu.
c. In the Properties window, click on the “Disk Cleanup” button under the General tab.
d. The Disk Cleanup utility will analyze your system and present you with a list of files that can be safely deleted. Check the categories you want to clean, such as Temporary files, Recycle Bin, and System created Windows Error Reporting.
e. Click on “OK” and then confirm the deletion by selecting “Delete Files.”
Step 2: Clear Temporary Files: Temporary files are created by various applications and processes and can accumulate over time. Windows 10 provides a way to manually clear these files.
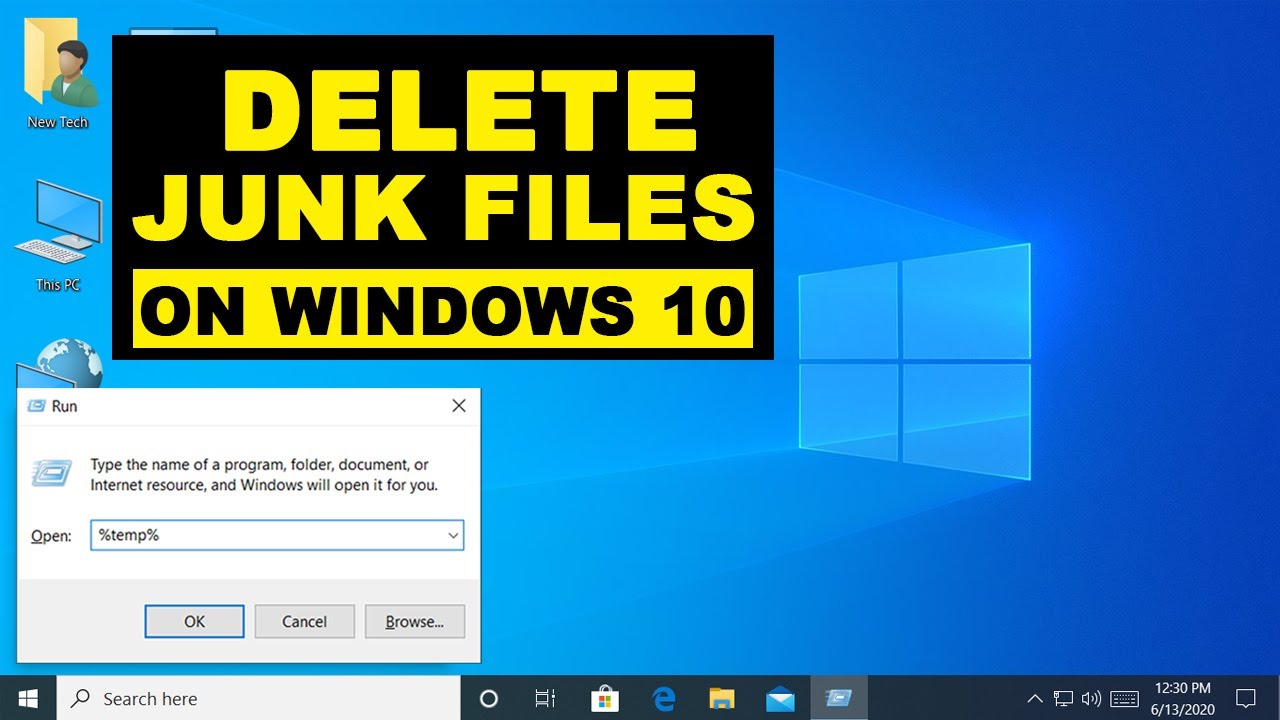
a. Press the Windows key + R to open the Run dialog.
b. Type %temp% and press Enter. This will open the Temp folder.
c. Select all the files and folders in the Temp folder and delete them. Some files may not be deleted if they are in use, and you can skip those.
d. Repeat the process for the following directories: – C:\Windows\Temp – C:\Users<YourUsername>\AppData\Local\Temp
Step 3: Remove Unnecessary System Files: Windows 10 retains certain system files that are no longer needed after an upgrade. These files can be sizable and contribute to unnecessary storage usage.
a. Open the Disk Cleanup utility again.
b. Click on the “Clean up system files” button.
c. Check the categories you want to clean, such as “Previous Windows installations” and “Temporary Windows installation files.”
d. Click on “OK” and then confirm the deletion by selecting “Delete Files.”
Step 4: Uninstall Unused Programs: Unused programs not only take up valuable space but may also contribute to system clutter. Uninstalling programs you no longer need can free up significant storage.
a. Open the Settings app (Windows key + I).
b. Go to “Apps” and select “Apps & features” from the left sidebar.
c. Scroll through the list of installed programs, select the one you want to uninstall, and click “Uninstall.”
d. Follow the on-screen prompts to complete the uninstallation.
Step 5: Clear Browser Cache and Cookies: Web browsers accumulate temporary files, cache, and cookies over time. Clearing these files can enhance browser performance and reclaim storage space.
a. Open your web browser.
b. Access the browser settings or preferences.
c. Locate the option to clear browsing data, cache, and cookies.
d. Select the appropriate options and click on “Clear” or “Delete.”
Step 6: Empty the Recycle Bin: Deleted files are moved to the Recycle Bin, where they continue to take up space until the bin is emptied.
a. Right-click on the Recycle Bin icon on your desktop.
b. Select “Empty Recycle Bin” from the context menu.
c. Confirm the action when prompted.
Step 7: Use Storage Sense: Windows 10 includes a feature called Storage Sense that automatically frees up space by deleting temporary files and files in the recycle bin.
a. Open the Settings app (Windows key + I).
b. Go to “System” and select “Storage” from the left sidebar.
c. Toggle the switch under “Storage sense” to enable it.
d. Configure the settings based on your preferences.
Conclusion: Deleting junk files in Windows 10 is an essential maintenance task to keep your system running smoothly. By following the steps outlined in this comprehensive guide, you can efficiently identify and remove unnecessary files, reclaim valuable storage space, and optimize your Windows 10 experience. Regularly performing these cleanup procedures will contribute to a more responsive and organized computing environment, ensuring that your system operates at its best.