How to delete your Fiverr account
In the fast-paced world of freelancing and online marketplaces, there might come a time when you decide to bid farewell to a platform like Fiverr. Whether you’ve found a better alternative or you’re taking a break from freelancing, deleting how to delete your Fiverr account is a straightforward process. In this guide, we’ll walk you through the steps to ensure a smooth and hassle-free account deletion.
Step 1: Log In to Your Fiverr Account
The first step in the account deletion process is to log in to your Fiverr account. Visit the Fiverr website and enter your login credentials. If you’re already logged in, proceed to the next step.
Step 2: Navigate to Account Settings
Once you’re logged in, navigate to your account settings. You can find this by clicking on your profile picture or username in the top right corner of the screen. In the drop-down menu, select “Settings.”
Step 3: Go to Account Deactivation
Within the account settings, look for the option related to account deactivation or deletion. Fiverr typically labels this option clearly to ensure users can find it easily. It might be under a tab like “Account,” “Security,” or “Privacy.”
Step 4: Review Account Deactivation Information
Before proceeding with the account deletion, Fiverr will provide you with information about the consequences of deactivating your account. This may include losing access to your account, any active gigs, and any funds in your account. Take the time to review this information to make an informed decision.
Step 5: Choose a Reason for Deactivation
Fiverr usually prompts users to provide a reason for deactivating their accounts. This feedback helps the platform improve its services. Select the most relevant option from the provided list or provide additional details in the text box if necessary.
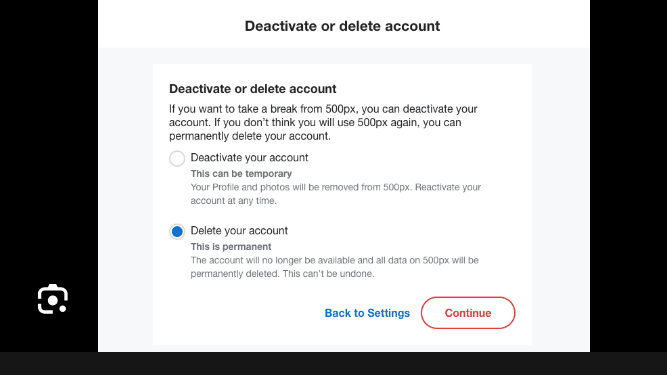
Step 6: Confirm Your Decision
After choosing a reason, Fiverr will ask you to confirm your decision. Double-check that you’ve considered all the implications, as account deactivation is irreversible. If you’re sure about deleting your account, proceed by clicking the confirmation button.
Step 7: Verify Your Identity
To ensure the security of the account deletion process, Fiverr might ask you to verify your identity. This could involve entering your password again or completing a captcha. Follow the on-screen instructions to complete this step.
Step 8: Receive Confirmation Email
Once you’ve successfully completed the account deactivation process, Fiverr will send you a confirmation email. Check your email inbox for a message from Fiverr, and make sure to keep this email for your records.
Step 9: Check for Any Residual Information
After deactivating your account, it’s a good practice to check for any residual information or activities linked to your profile. Ensure that any active gigs are completed or transferred to another account, and update any external links or references to your Fiverr profile if necessary.
Step 10: Bid Farewell to Fiverr
Congratulations! You’ve successfully deleted your Fiverr account. Take a moment to reflect on your freelancing journey and the experiences you’ve gained on the platform. If you ever decide to return, Fiverr will welcome you back with open arms.
In conclusion, deleting your Fiverr account is a straightforward process that involves a few simple steps. By following this step-by-step guide, you can bid farewell to the platform and move on to new opportunities with ease. Remember to consider the consequences, review the provided information, and verify your identity to ensure a smooth account deletion process. Good luck on your future freelancing endeavors!