How To Delete Eteled
In the fast-paced world of digital platforms and online services, individuals often find themselves managing various accounts and profiles. If you’ve decided it’s time to part ways with a service called “Eteled,” follow this comprehensive guide on how to delete your Eteled account. Whether you’re seeking a change or simplifying your online presence, the steps below will guide you through the process.
Understanding Eteled
Before we dive into the deletion process, it’s essential to have a clear understanding of what Eteled is. Eteled could be a platform, application, or service that you’ve signed up for, and now wish to discontinue. Identify the specific features and functionalities of Eteled to ensure you’re well-informed before proceeding.
1. Review Terms of Service and Privacy Policy
Start by reviewing Eteled’s Terms of Service and Privacy Policy. Understanding the terms and conditions of account deletion, as well as how your data will be handled, is crucial. Look for any specific instructions or requirements outlined in these documents.
2. Locate Account Settings
Log in to your Eteled account using your credentials. Once logged in, navigate to the account settings or profile settings section. This area typically holds options related to account management, including the ability to delete or deactivate your account.
3. Check for Deactivation Options
Some platforms offer a temporary deactivation option instead of permanent deletion. If Eteled provides a deactivation feature, consider whether it aligns with your preferences. Deactivation often allows you to reactivate your account in the future, preserving your data and settings.
4. Backup Important Data
Before proceeding with the deletion, consider backing up any important data or information you may want to keep. This could include messages, files, or any other content associated with your Eteled account. Once the account is deleted, retrieving this data might be challenging.
5. Follow Account Deletion Instructions
If you’re ready to permanently delete your Eteled account, follow the platform’s account deletion instructions. This process can vary from platform to platform, but it often involves confirming your decision through a series of prompts. Some platforms might require you to enter your password or provide additional information for security purposes.
6. Confirm Deletion
After following the deletion instructions, the platform may prompt you to confirm your decision. This confirmation step is a safeguard against accidental account deletion. Review the information provided and proceed only if you are certain about deleting your Eteled account.
7. Verify Through Email
In some cases, platforms may send a verification email to confirm your identity and the account deletion request. Check your email associated with the Eteled account for any messages from the platform. Follow the provided instructions to complete the verification process.
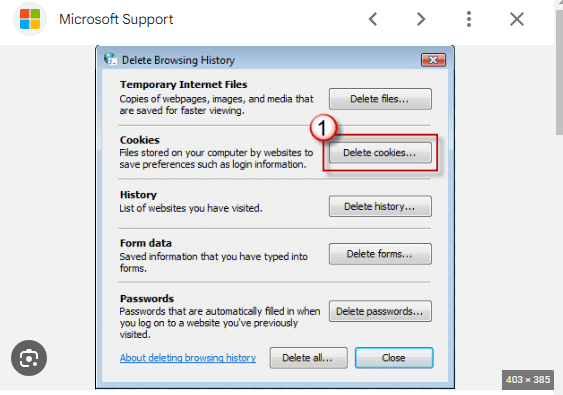
8. Clear Browser Cache
To ensure a clean break, clear your browser’s cache and cookies after deleting your Eteled account. This step helps prevent any lingering traces of your account information and ensures a fresh start when accessing other online services.
9. Monitor Confirmation
After completing the deletion process, monitor your email or the Eteled platform for any confirmation messages. Some platforms provide a confirmation of account deletion to assure users that their request has been successfully processed.
10. Reach Out to Support if Needed
If you encounter any challenges during the deletion process or have specific questions, don’t hesitate to reach out to Eteled’s customer support. They can provide assistance and address any issues that may arise during or after the account deletion.
Conclusion
Deleting an account on a platform like Eteled requires careful consideration and adherence to the platform’s procedures. By reviewing terms of service, navigating account settings, and following the provided instructions, you can successfully delete your Eteled account. Remember to back up important data, confirm your decision, and clear browser cache for a thorough account closure. With these steps, you’ll be able to navigate the process with confidence and move forward in your digital journey.